
I used to rely on OneNote to jot down notes and draft essays, but now, with Notion, it has never been a more streamlined process for me to write, collect information, and organize various types of materials in one place.
This semester, I created my first syllabus in Notion and published it online. Notion offers many template pages including one for syllabi.

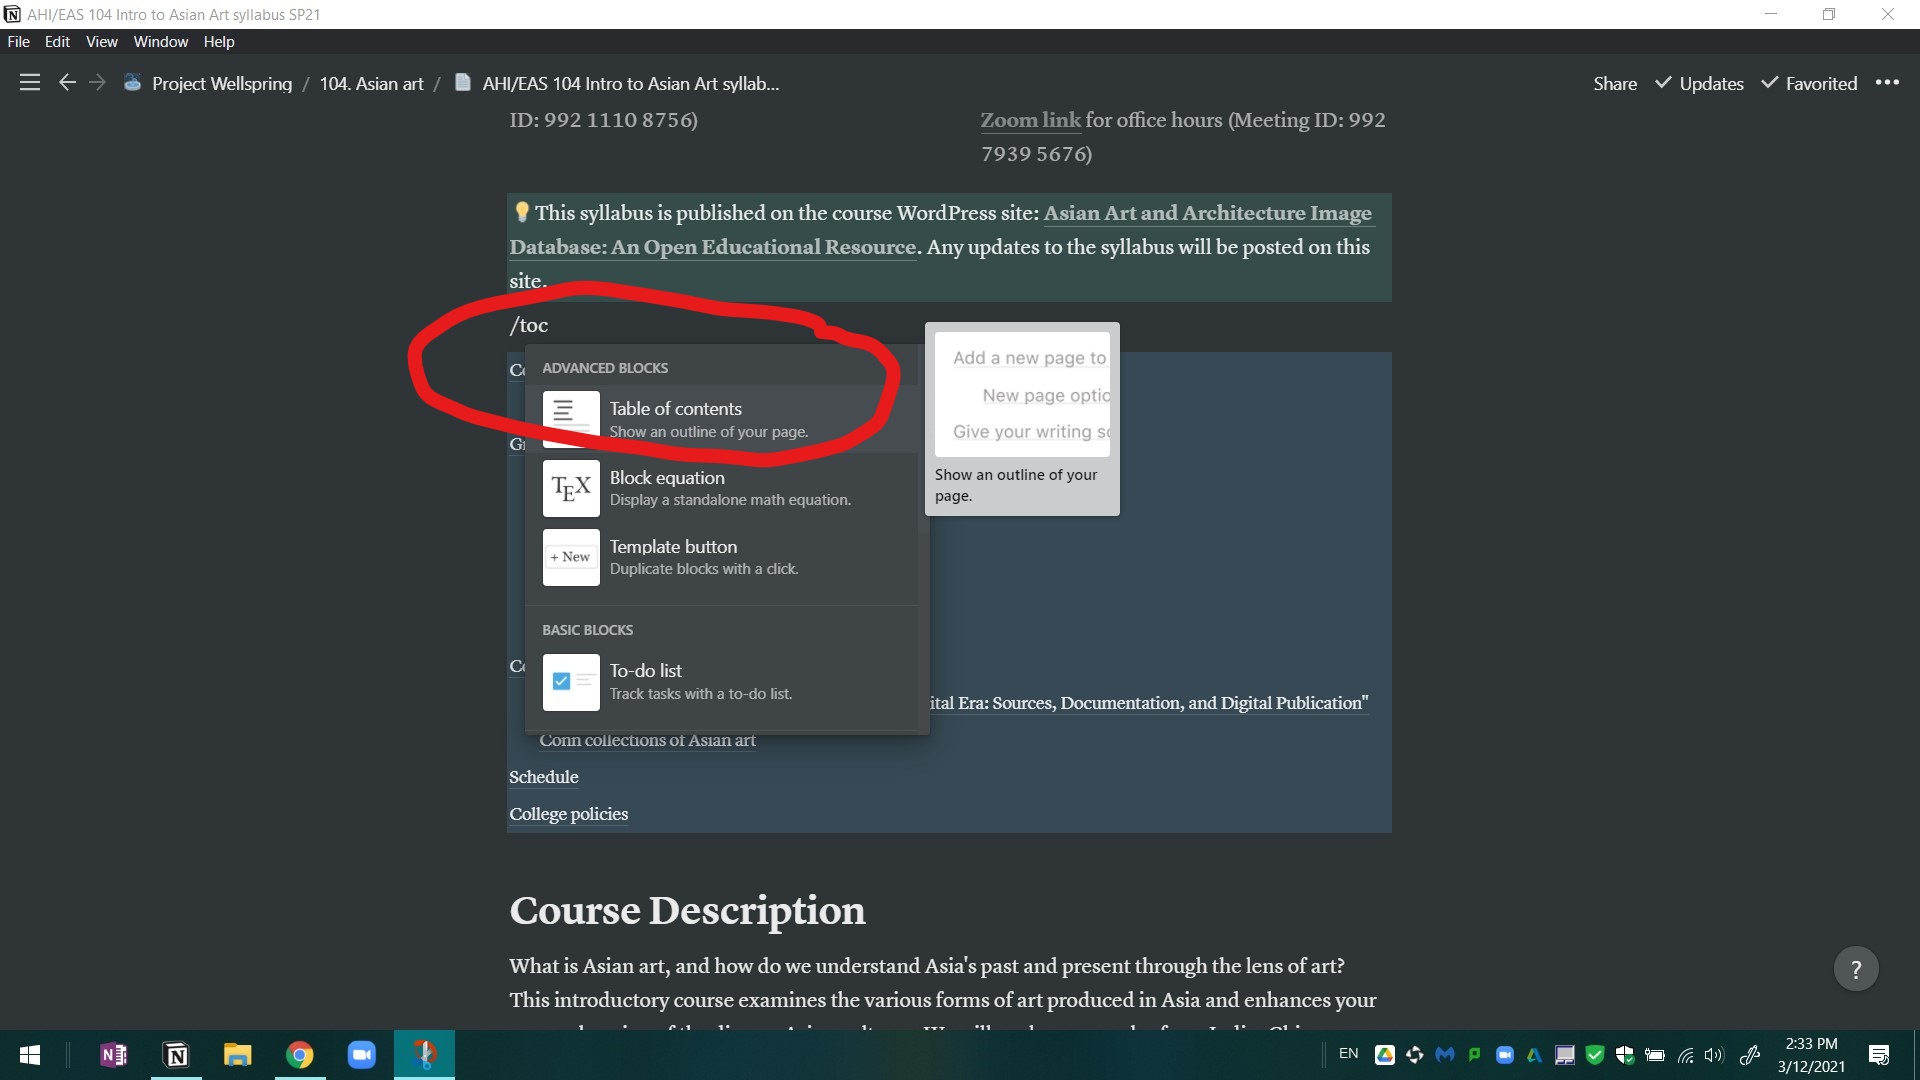
Writing and editing in Notion is similar to writing a webpage on WordPress: contents are treated as “blocks.” When creating a block, you can type in directly the content of the block, or type “/” to search for a special format or template for the block. For instance, I typed “/toc” to generate automatically a Table of Contents at the beginning of the syllabus.
One of the best features of Notion is that it allows you to display the same content in different views. Below is an example of the “calendar view” of my course schedule:

Alternatively, the same schedule can be displayed in various “table views,” such as the table view with the “lessons” filter applied below…

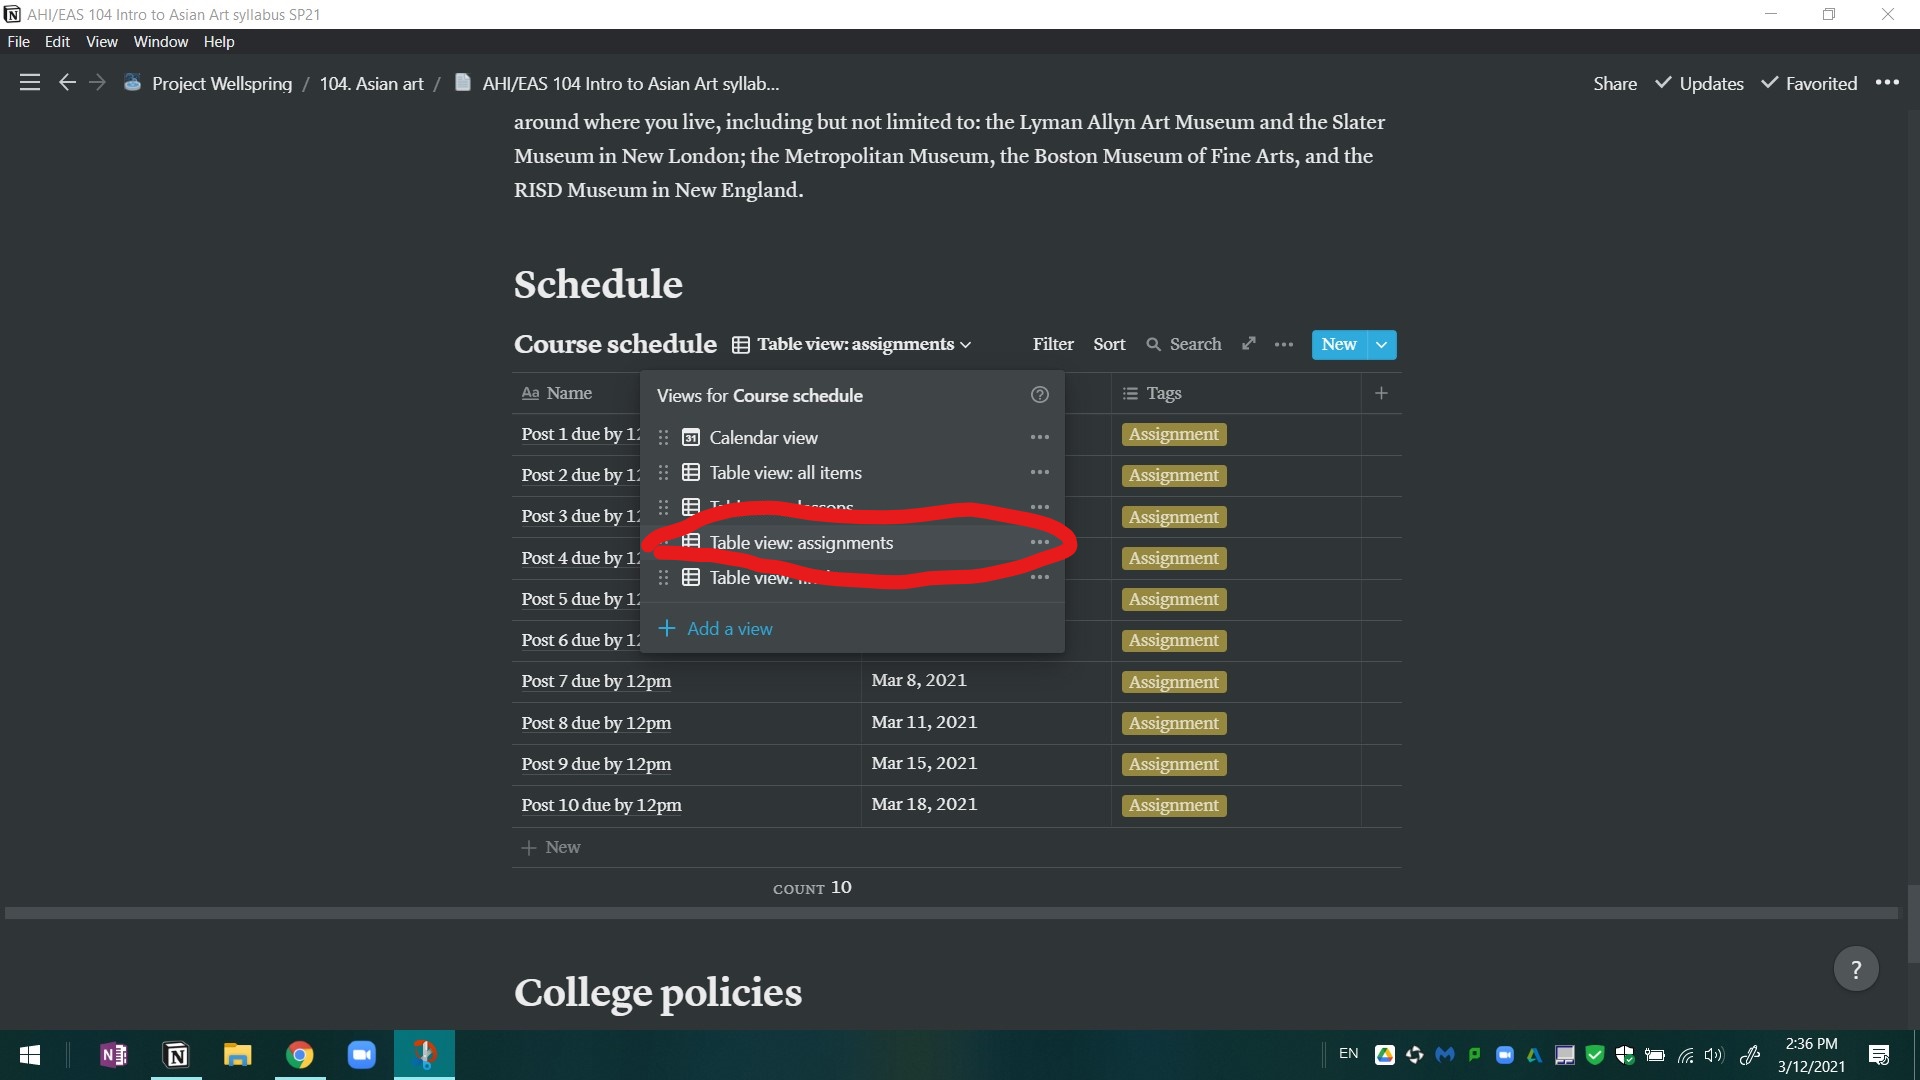
… and the table view with the “assignments” filter below, to allow students to look up needed information more quickly.
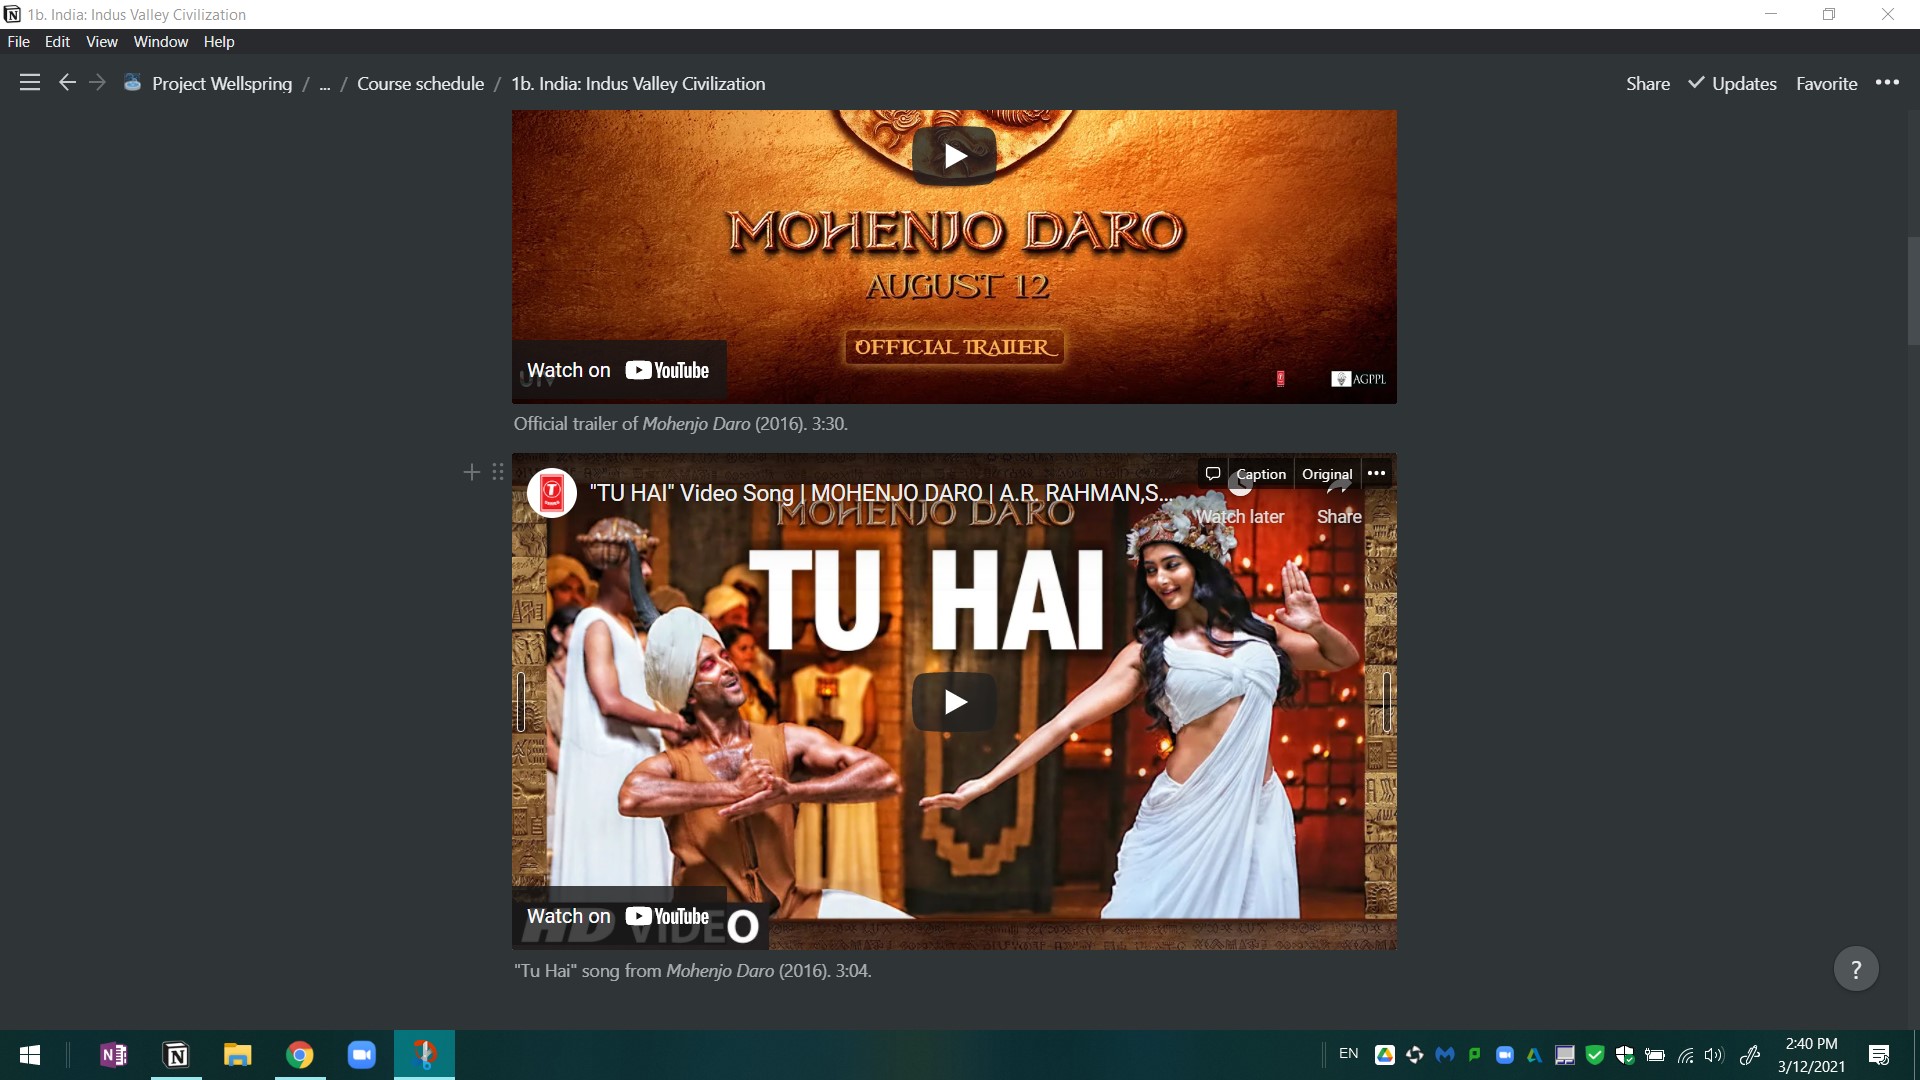
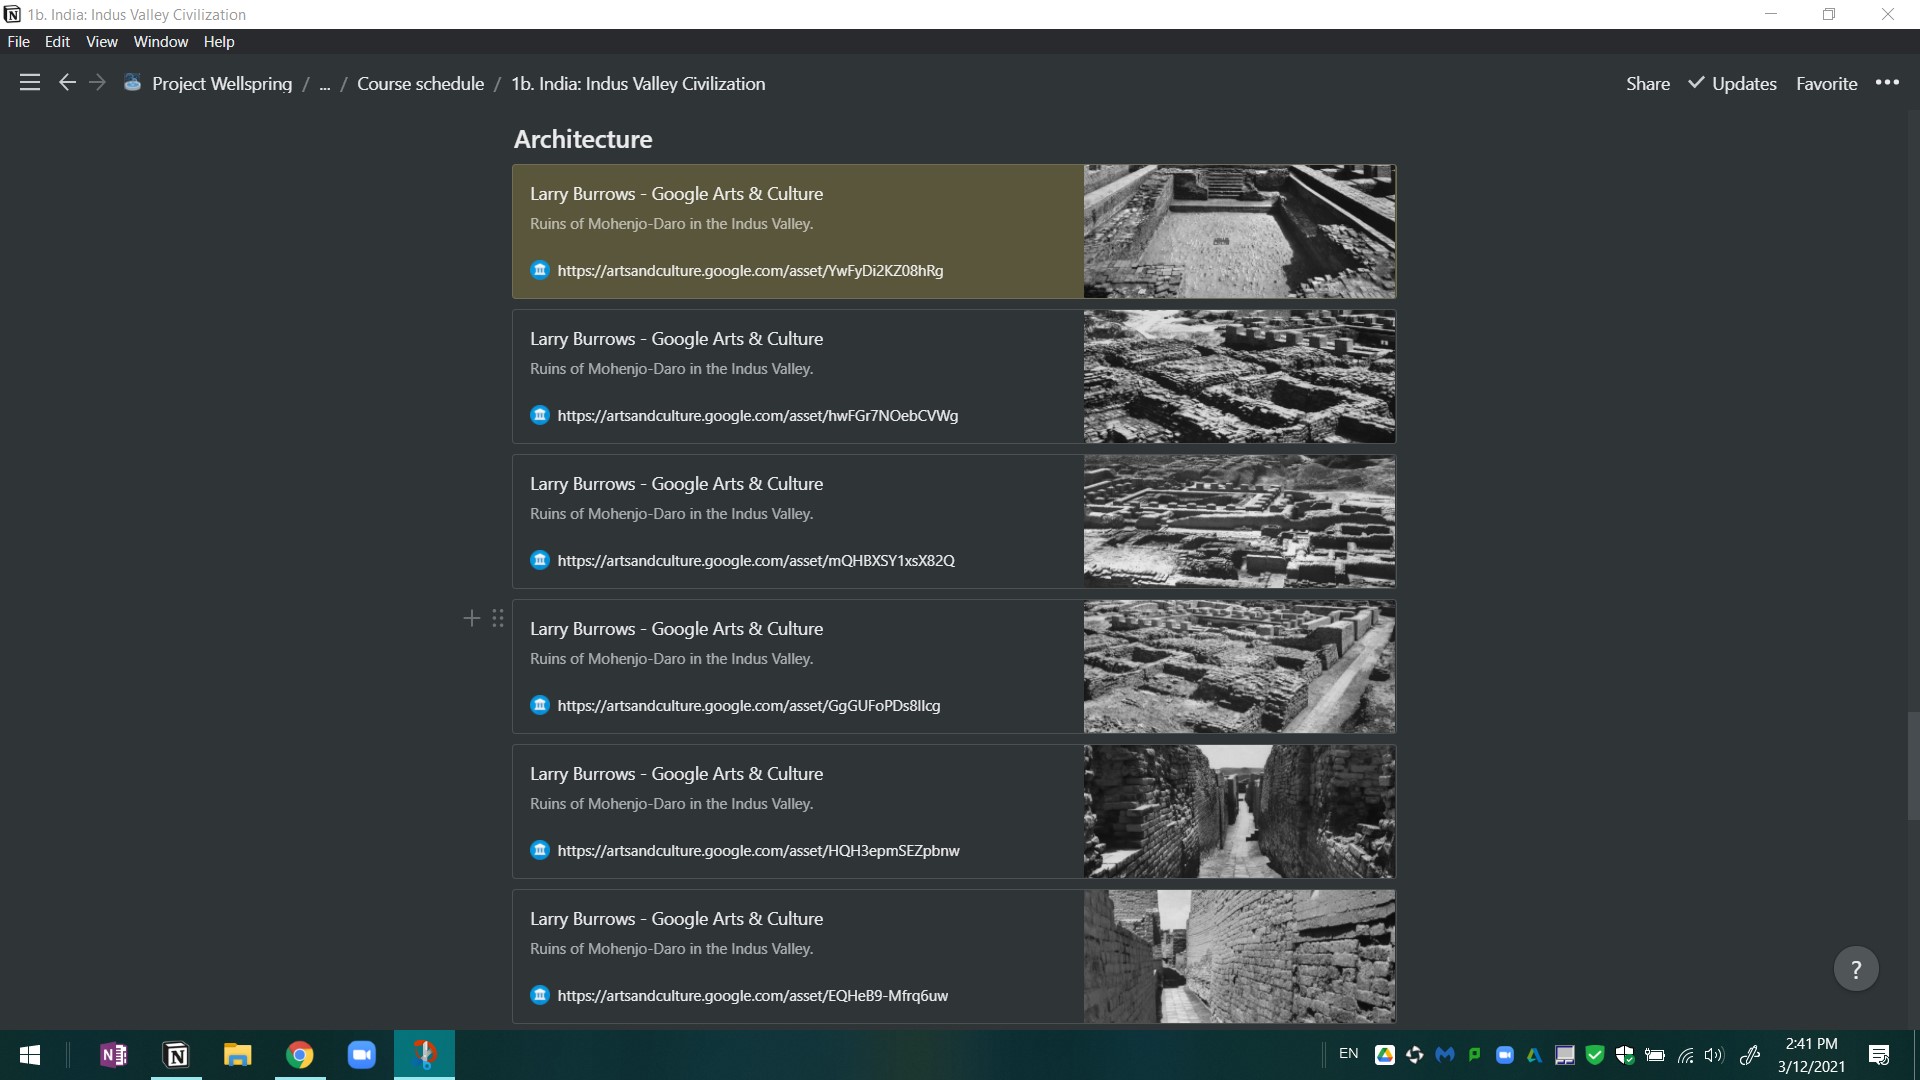
Each item in the course schedule is an individual page that contains the materials to be covered in that day’s class. One can embed YouTube video clips, webpages, and 3D Sketchfab models on the page, and create bookmarks with thumbnails for all kinds of online resources:
Since the syllabus has been published and shared with my students, whenever I made a change or added materials on my end, the students would receive the same changes immediately. No more reloading or updating on Moodle needed!
In addition to teaching, Notion has served as an excellent tool for my research. It allows the creation of a “database”—for instance, a bibliography containing multiple “entries”—i.e. individual pages of textual sources. The advantage of creating a database is that it allows you to sort the pages according to the name, the date of creation, etc.; you can tag each page with as many tags as you want, and you can type in keywords or apply filters to search for particular items in the database.
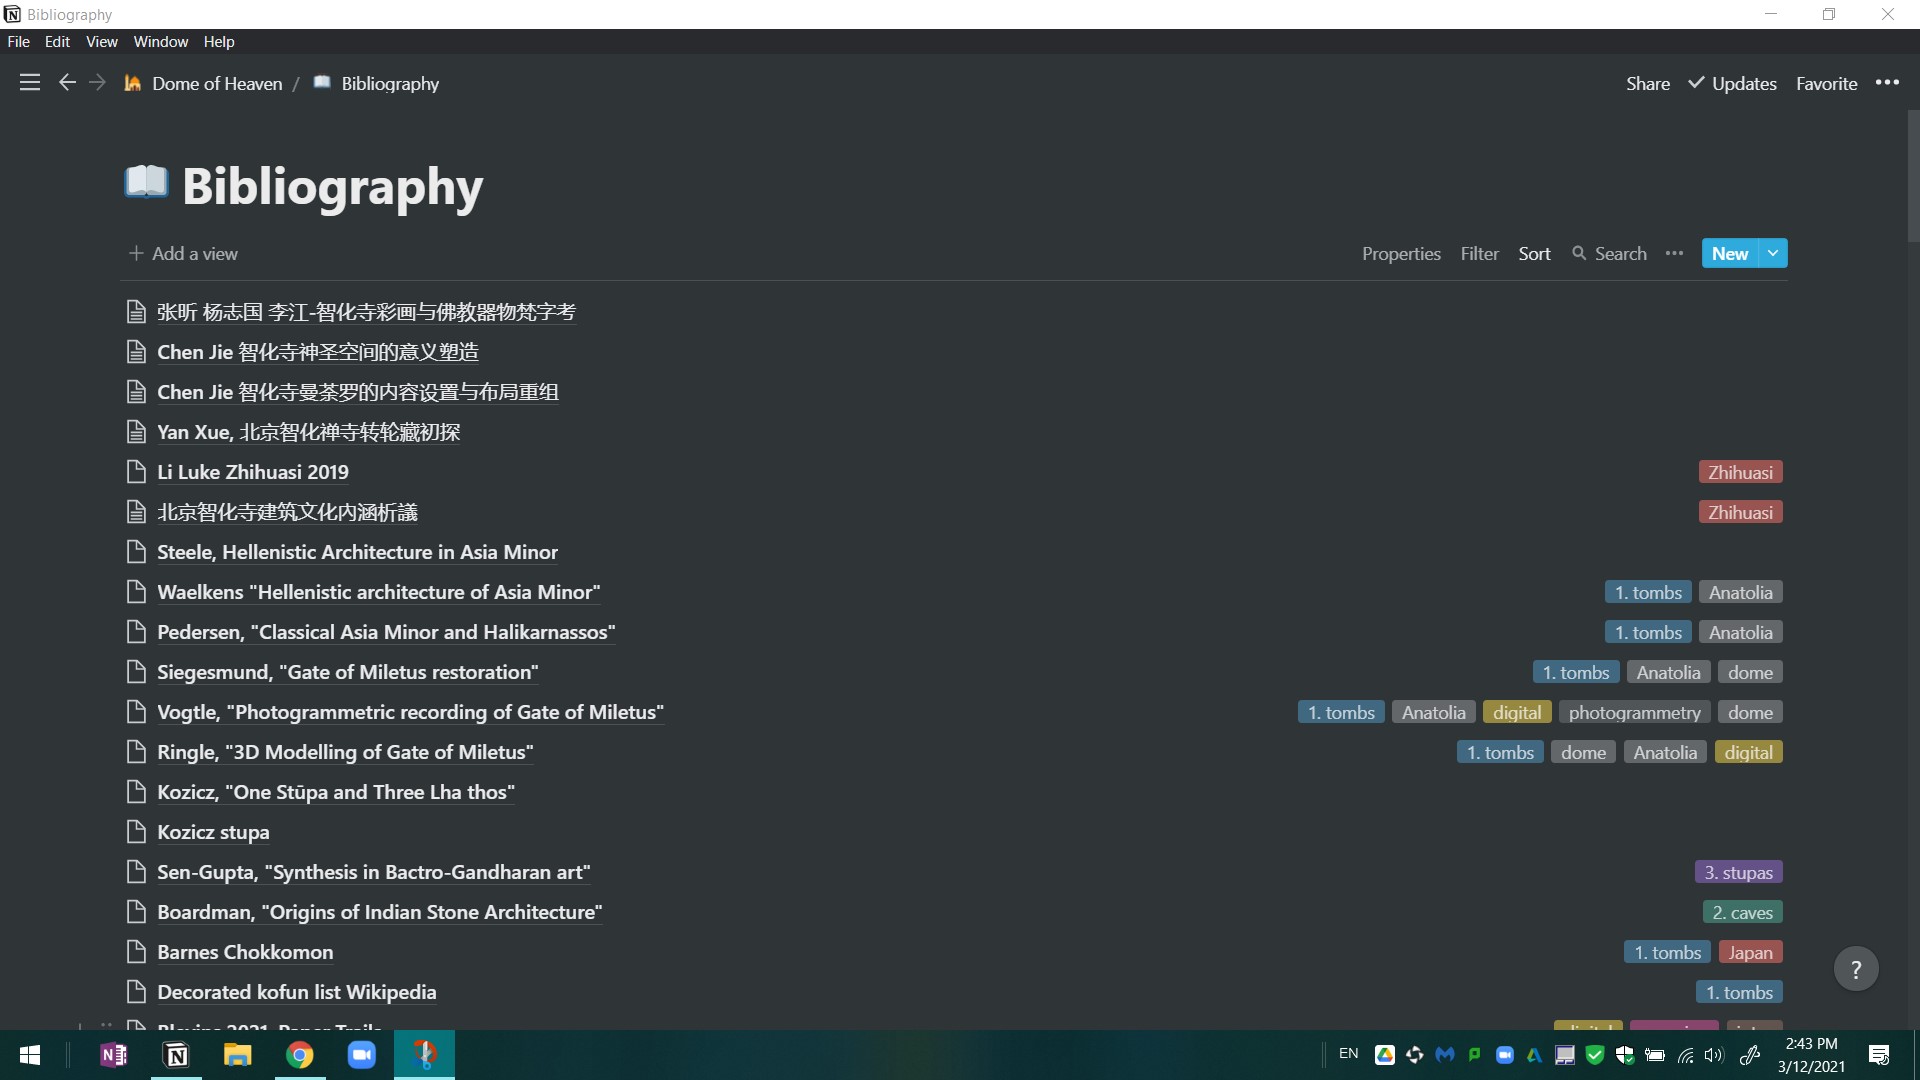

Editing an individual page (an entry in the bibliography) allows you to document additional information such as the citation and the URL of the text. For key texts, I often add short notes and comments on the same page to remind me how I might use this text in research and writing.

The database feature of Notion has further allowed me to build an image database where I store all the images I intend to use or refer to in my research. Similar to a bibliography, each image here is created as an individual page and they are put together under the database named “1. Tombs.” By changing the view of the database to the “gallery view,” I can view the thumbnails of all images in one place and change the order of the images if needed.
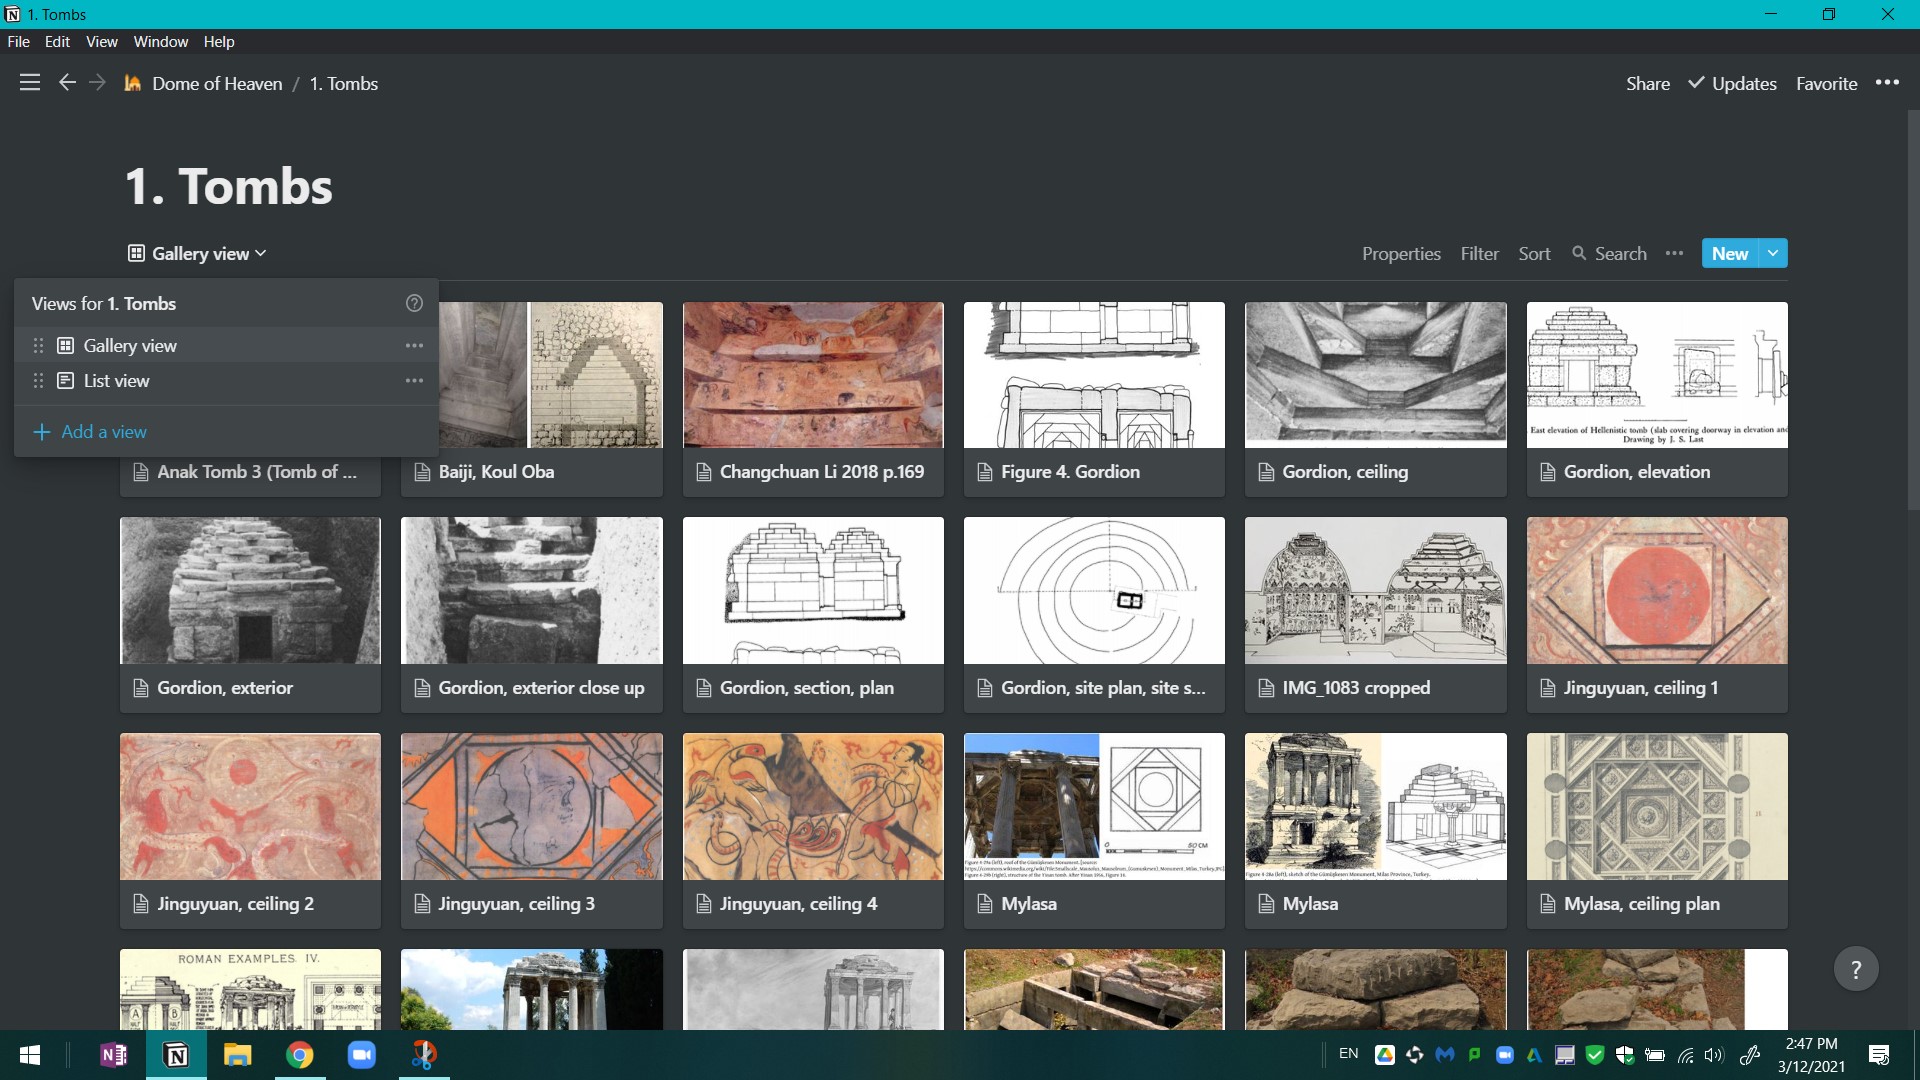
Editing the page allows you to directly type in the various “properties” of the image, such as its source and copyright information, in addition to the date and location of the object shown in the image. This offers tremendous help to an art historian’s day-to-day practice of collecting and documenting images.

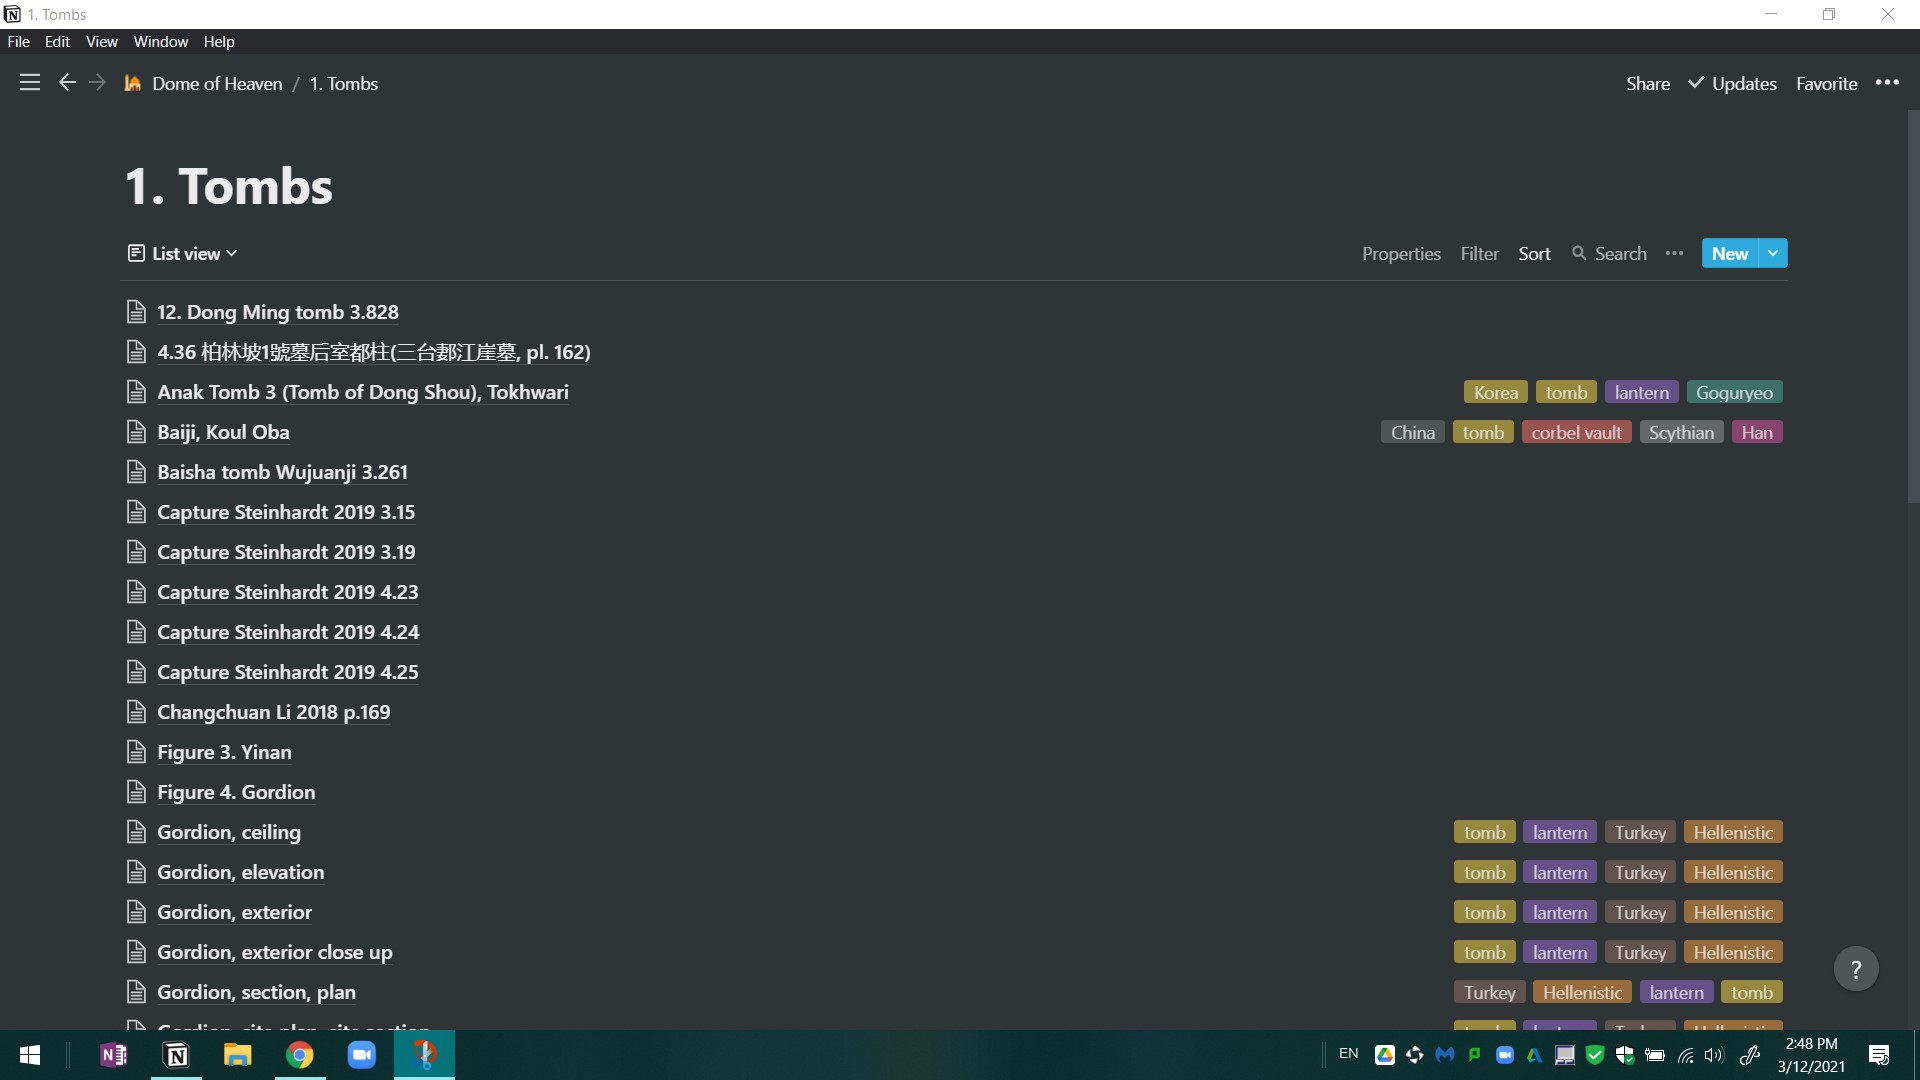
When displayed in a “list view,” the images can be tagged and rearranged, while the database can be searched, sorted, and filtered as in the case of the bibliography.
If you’d like to explore the many exciting functions of Notion, visit the official website, and sign up using your Conn email to receive a free Personal Pro account!